search this blog

11.26.2013

cecil

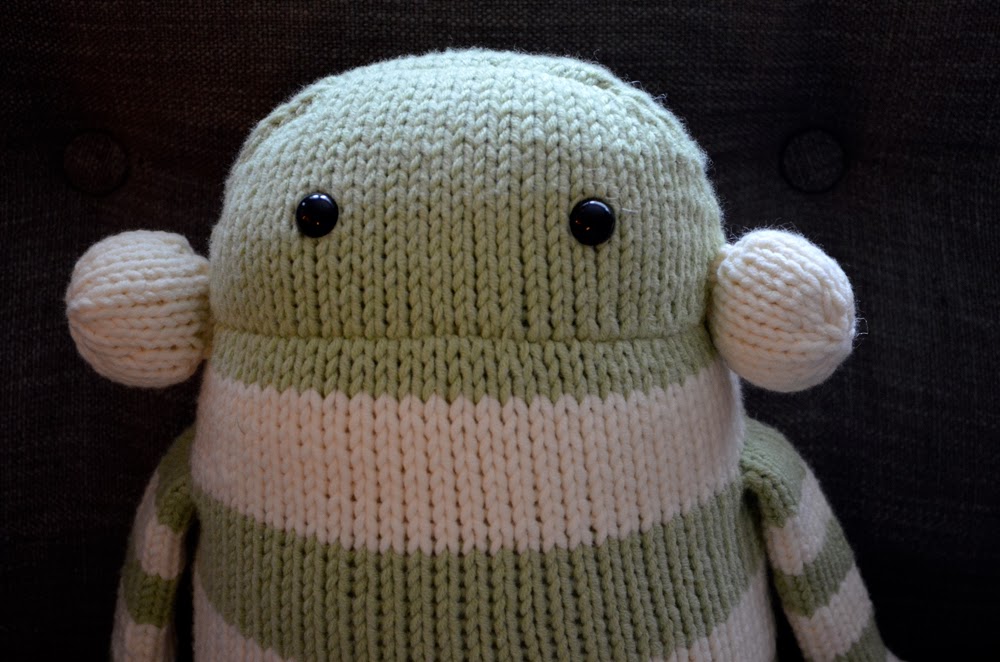
Meet Cecil.
 

I love him. He has to be one of the cutest monsters I've ever made from one of Danger Craft's patterns. If you haven't checked out here Etsy site, go there now. Seriously... She has oodles of adorbale monster & toy knitting patterns. Cecil is one of the patterns she offers from her first book. The book is filled with lots of adorable creatures to create.
  

I think I'll go start another knitting project...
 
Photobucket

10.30.2013

"look for less" design challenge


When I was contacted to be part of a "Look for Less" design challenge with some other amazing bloggers, I jumped at the opportunity. The idea behind this challenge was to find a look I loved but was too expensive for my taste or budget, then DIY it myself for less. 
Please meet the other girls participating in the challenge:
Rachel | Like a Saturday
Andrea | Life Love Larson
Kayla Home Coming


My "Look for Less" project:
DIY Anthropologie Tee-pee Coasters


When I stumbled across these adorable linen coasters on the Anthropologie website, I was immediately smitten. I am a firm believer that you can never have too many coasters around. Even though I do shop at Anthropologie for unique home decor items, I couldn't justify spending money on something I knew I could make. My coasters turned out to be free since I had all of the materials on hand from other projects. If you were to buy the linen & embroidery thread to complete this project you'd probably spend around $5.00 - $7.00.

... what you'll need to make your own ...
(list below makes 4 coasters)

8 - 5"x5" pieces of linen
4 - 5"x5" pieces of fusible white felt
brown embroidery thread
sewing machine/thread
pencil
needle
ruler

... instructions ...

STEP [1]
Cut out 8 - 5"x5" linen pieces (2 pieces per coaster). With a pencil & ruler, doodle your tee-pee design on your linen. I didn't worry about making each tee-pee identical. 


STEP [2]
Cut out 4 - 5"x5" pieces of fusible felt (1 piece for each coaster). Iron the felt to the back of the 4 pieces of linen that have tee-pees drawn on them. The felt will help stabilize your stitching and give your coasters some loft.


STEP [3]
With your needle & embroidery thread, begin stitching the outline of the tee-pee. Once the outline is complete, fill in the center of the tee-pee with diagonal stitches across the design.

STEP [4]
With the extra 4 pieces of linen, sew the right sides of your coasters together (your felt should be facing out) leaving a small space to turn your coaster right side out. Press flat & top stitch about 1/8" in around the entire coaster to close the space used to turn your coaster. Ta-da! You've completed your first coaster. Repeat all steps for the remaining 3 coasters.

Click on the images below to check out all of the other amazing "Look for Less" projects completed during this design challenge:
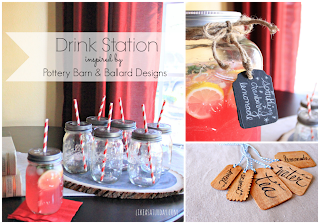
 http://likeasaturday.com/2013/10/30/look-for-less-drink-station/
 http://gracelangdon.blogspot.com/2013/10/design-challenge-look-for-less.html


Photobucket
[p.s. this post may be linked to any number of these blogs]

10.29.2013

fall party decor

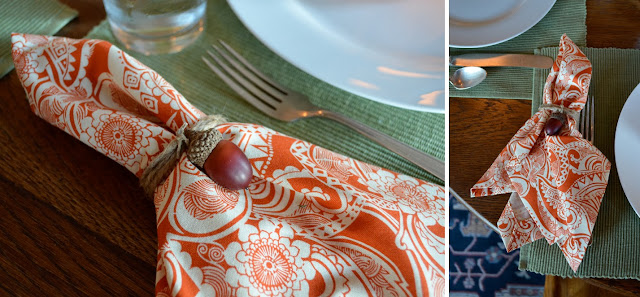
My cousin got married a few weekends ago and my aunt put on one of the best rehearsal dinners I have ever been to. It was so well thought out and perfectly decorated. I thought I'd share some of these handmade decorations since they would work for more than just a rehearsal dinner. They could be the perfect decoration for your fall table, Thanksgiving dinner place settings and much more. Enjoy :)


Photobucket
[p.s. this post may be linked to any number of these blogs]

10.28.2013

"caught a bug?" card

It's flu season!
No... I'm not excited, but I am preparing my card stash for it. I saw this adorable "caught a bug" card on Pinterest the other day and I knew I had to recreate it for myself. 

INSPIRATION                                    CARD FOR MY STASH

Since I have a decent stash of rubber stamps, this took me all of 5 minutes to create. I stamped a mason jar & bug on some card stock, layered it onto a bright green piece of card stock, stamped on "caught a bug?" and adhered it to a blank card. This could easily be recreated by sketching it by hand.
I now have a few "caught a bug" cards to add to my yearly card binder

Photobucket
[p.s. this post may be linked to any number of these blogs]
Related Posts Plugin for WordPress, Blogger...