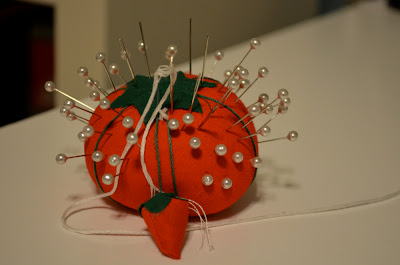
I thought it was time to update my pin cushion situation. I find that my little tomato just wasn't cutting it. It would slide around my sewing table when I tried to put pins in it and it was starting to look a little rough. I saw this idea on pinterest and decided to give it a try...
I didn't read the tutorial on other pin cushions jars before I started because it was one of those "I'm going to do this right now" kind of ideas. Once I was finished, I browsed some other tutorials and found that they went about constructing their pin cushion a little differently. Either way you do it, they turn out cute so you can pick which way works better for you. This is how I made mine...
______________________________________________________
Here's what you'll need:
1. Any type of jar (with lid)
2. hot glue gun
3. scrap fabric
4. stuffing
______________________________________________________
I started by cutting my scrap piece of fabric into a manageable size (slightly bigger than my jar lid - but I planned on cutting off the excess when I was finished so I didn't worry about it being perfect).
Next, I put small dabs of hot glue on the under side of my flat lid and began
folding my fabric over to adhere it to the lid.
I glued and folded about 3/4 of the way around the lid.
From here, I stuffed my pin cushion nice and full
(checking every once in a while that it would fit nicely into the rest of the lid).
After it was sufficiently stuffed, I glued the rest of the fabric down to the lid.
Then I cut off the extra fabric and glued the loose pieces securely to the lid.
Lastly, I added a bead of glue to my outer lid and pushed my pin cushion in.
Ta-da! I new and improved (way better than that old tomato) pin cushion...with storage!


No comments:
Post a Comment
All comments will be answered/responded to by email. Please make sure your email address is linked up to your account so I can reply. Thanks for leaving me some love :)