search this blog

1.13.2013

the weekly creative #16


Welcome to week #16 of The Weekly Creative!

First off, thank you to everyone who stops by to link up projects every week. I love seeing your projects and recipes. Sorry I skipped out on the party last week - it was a crazy around and I was doing some brainstorming. I would like to announce a few small changes that I'm making to The Weekly Creative link party:

#1 Each week I will be featuring the most viewed link, my favorite diy/craft/home project & my favorite recipe. I'm sticking with 3 features but I have divided them into categories now.

#2 Each month, I will be featuring one project on my sidebar - the project that gets the most views during all of the link parties during that month. It will have a picture of the project with a direct link to to post on your blog. This will hopefully direct more traffic to YOU! (you can check out Decembers "most veiwed" link in my sidebar).

#3 All features will get promoted on my Facebook page and pinned to Pinterest. I have created a board specifically for features - feel free to follow along.

Oh - and I'm going to try to get my party up on Sunday evenings. Fingers crossed that I keep up with that! Otherwise, it's the same old link party!

Link up as many projects, recipes, etc. as you'd like. No giveaways or etsy shops please. 
Visit some other blogs and show them some love. Simple as that.

Here are the feautres from 2 weeks ago:

MOST VEIWED:
top 15 crafts from 2012 by the diy dreamer

MY FAVORITE DIY/HOME PROJECT & RECIPE:
tv tray makeover by reduce, reuse, renewed & hot chocolate on a stick by turtles & tails

If you were featured, don't forget to grab a featured button from the sidebar under the tab "grab a button."
Thanks for stopping by to link up!


Photobucket


1.12.2013

twiggy frame


I've had this picture frame for years and for the past 6 months it's been in the "yard sale" pile that we meant to get around to this Fall and never did (oh well - we'll have to wait until Spring now). I got the itch to transform something for our bedroom and my eyes landed on this frame. It was perfect.
picture frame before
I started by dissembling it: I removed the glass & unscrewed the hooks. Next, I gave it a few coats of textured spray paint (I went with the color on the right). In between coats of spray paint, I gathered up some branches from the yard. We have a little pile in the back that we need to get rid of so I rummaged through there to find some good twigs.

After the frame was painted and fully dried, I hot glued a select few branches to the frame to give it a little added texture and dimension (plus...we love trees)! I'm glad I saved this frame from the yard sale pile...it has made a great addition to our bedroom (along side some of our quote art).


Photobucket
[p.s. this post may be linked to any number of these blogs]

1.09.2013

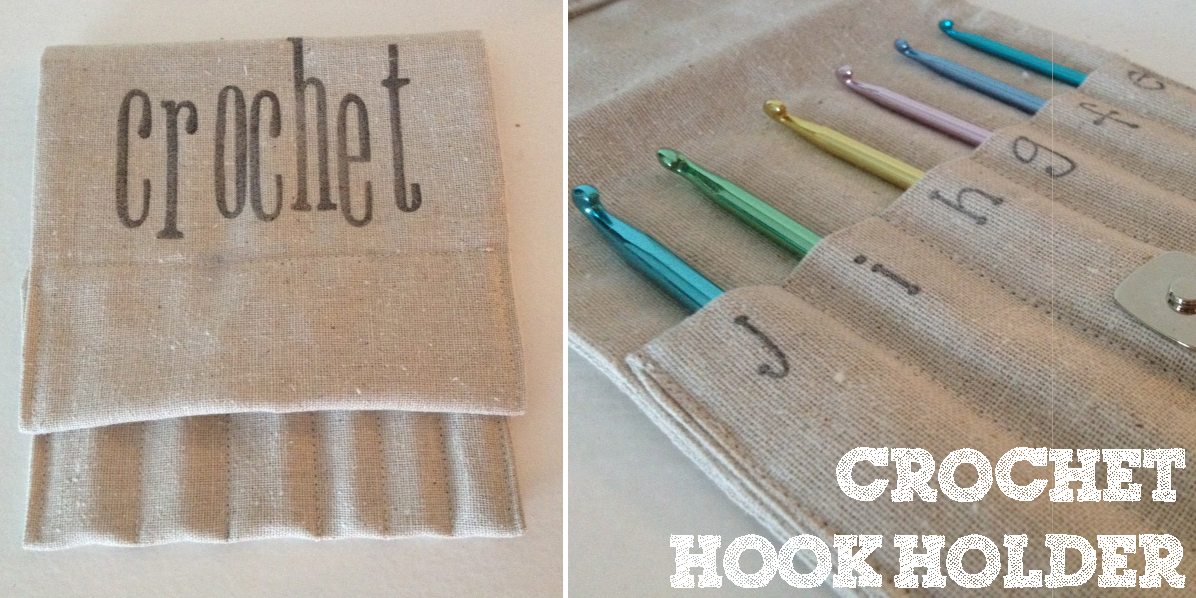
crochet hook holder


I have this theory. Everything is better in it's own unique, cute, little case. Yes? Ok, maybe it's just me. Anyway, I decided to make a little case for the crochet needles I got my mom for Christmas. One of these days I am going to teach her how to crochet :) In the mean time, you can make a fun little case for your own hooks.

__________________________________
Here is what you'll need:

6.5" x 35.5" piece of linen (or any other fabric)
crochet hooks
a magnetic clip
letter stamps & ink
sewing machine
wax paper & pencil (optional)
__________________________________

[1] Start by prepping your fabric. Iron and cut a piece of fabric that is 6.5" x 35.5". Fold your fabric right sides together "hamburger style" (your fabric will now be 6.5" x 17.75") and sew around all sides (leaving 2-3 inches on one of the short sides for turning). Turn your piece right side out and press flat.


[2] Next, using your crochet hooks as a guide, fold the bottom of your fabric up to cover 3/4 of your hooks. Pin both sides in place.

[3] Now is when you'll  put on your magnetic clip. Follow the instructions on the package to do so. I placed my clip about 2 inches from the bottom (centered on my holder).


[4] Now, using wax paper, draw guide lines for your pouch divisions. I like to do this because it ensures nice straight lines. You can sew directly over your wax paper. When you're finished, carefully peal the wax paper off and throw it away. You'll be left with nice straight lines!

If you'd like, just go for it and sew with the wax paper. What's the worst that could happen? I used my zipper foot around my clip.

As for the sides, leave them both open for now. They will get stitched down in a later step.


[5] Moving to the top of your case, top stitch across your opening from step 1 that was used to turn your piece.

[6] Fold the top edge over a few inches and press with your iron. This length will vary based on your magnetic clip placement. Install the other half your clip under your newly created flap. Before committing to the placement, check to see that both parts of the clip line up.


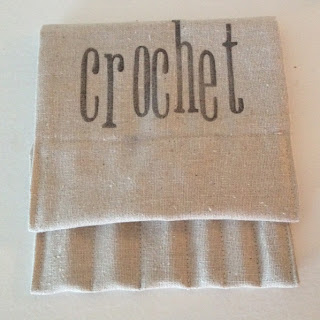
[7] Once your clip is in place, sew straight down both of the sides to secure your flap and hook pockets. Decorate with rubber stamps and you have a cute little case for your crochet hooks.


Much better right? I told you everything is better in a fun little case.

Photobucket
[p.s. this post may be linked to any number of these blogs]

1.05.2013

fun with tile

I've worked in the tile industry for a few years now and I've seen a lot of old, discontinued samples thrown away (sad...). Sometimes, I'm able to save & repurpose some of the samples into fun projects. Here are 2 EASY ways to turn tile into something much more:
Mosaic Earrings
 

Often times, these little swatch cards get tossed when a product is no longer current. I have a small stash that I've been holding on to to make earrings. It's as simple as removing the individual tiles from the mesh or cardboard & glueing them to an earring post. I included these little earrings in quite a few of my Christmas gifts.


Tile Coasters


This is probably the most simple a project can get. These 4x4 glass tiles were so beautiful on their own that they didn't need any sprucing up. All I did was put 4 little rubber door cushions on the bottom of each tile and VOILA! Coasters :) A little bit of ribbon around them made a perfect gift for my aunt (who has similar tile on her kitchen backsplash).


What other tile recycling projects have you done?

Photobucket
[p.s. this post may be linked to any number of these blogs]
Related Posts Plugin for WordPress, Blogger...