

If you’re anything like me, you can understand the importance of a good headband. My hair has a mind of it’s own and it sometimes takes more than just a little (ok…a lot) of hairspray to tame it. After my mom shipped me a whole box of fabric left over from her quilting projects, I couldn’t wait to make something I could use right away. I had seen some of these fabric headbands on Etsy but couldn’t bring myself to buy something I knew I could make…this little headband is what came from my fabric excitement.
______________________________________________
What you’ll need:
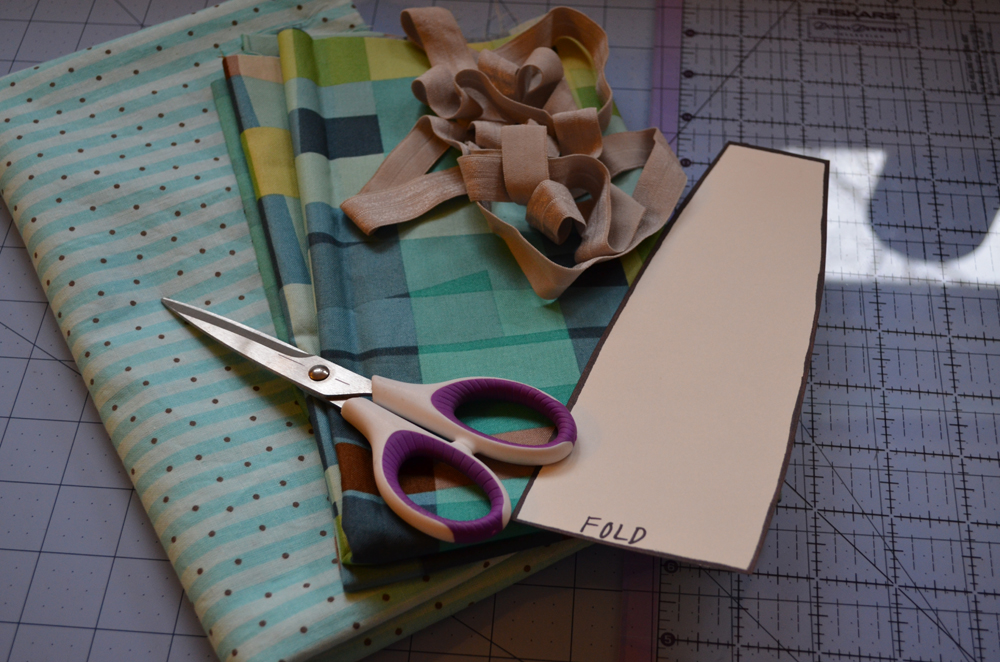
1. Two different pieces of fabric
3. Small piece of elastic (I used elastic ribbon)
4. Iron/ironing board
______________________________________________
Start by cutting out the headband template from both pieces of fabric. Where the template says “FOLD” marks the middle of the headband. Trace one half and flip the template over and trace the other half to make one long piece.


Once you have both pieces cut out flip the pieces over so the wrong sides are facing up. Lay one piece on top of the other. Fold edges in ½” and press with your iron to create a nice clean edge. I iron one piece on top of the other because it makes the seams identical. After you’ve ironed the whole way around, separate the two pieces and iron them separately so they lay nice and flat. They should now look like this:
 |
| My pieces after the seams were ironed in |
Place one piece of fabric on top of the other (with wrong sides together) and pin all the way around leaving about 2” on either end unpinned. Make sure you line up your edges well because once you’re done, your headband will be reversible. Fold the ends of the top and bottom fabric in about ½” and press. Cut a piece of elastic ribbon about 4” long and sandwich the end between your two fabrics. Pin together.
 |
| ironing in the sides |
 |
| I flipped my headband over - don't let that throw you off |
Now you’re ready to sew! I started sewing on the long side end away from the end with the elastic. I sewed about 1/8” away from the edge, pivoting when I had to make a turn. I finished sewing on the short end that didn’t start with the elastic sandwiched between it.

When I got to this side, I stopped sewing with my needle down in my fabric, pulled/twisted my headband around so I could put the free end of elastic between my two fabrics. Make sure you don’t twist your elastic in this step. It should look like this in your sewing machine:
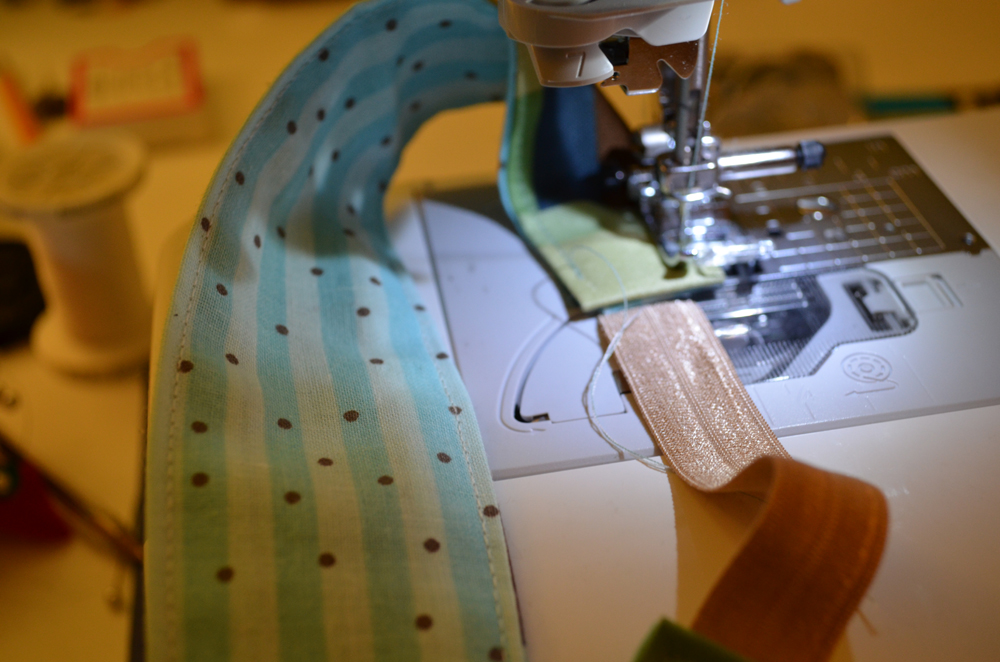 |
| stop when you reach the last end, sandwich the elastic and finish sewing |
At this point, you could be done with your headband! Yay! Wear it proudly J
However, I chose to do a second row of top stitching (because I like the way it looks). I tied off my loose ends and this is what I ended up with:


I hope anyone with crazy hair like mine finds this tutorial helpful in “taming the wild beast”… Or if you have wonderful hair that always does what you want, this headband is not only functional, but it’s cute and adds a little something extra to any outfit.
As the lucky recipient of this headband I would like to add that it is even cuter in person :)
ReplyDeleteYour lines are very neat and clean, did you back stitch? I just made one...which is waaaaaaaaaaaay to small (I used regular elastic instead of elastic ribbon...and maybe tucked too much inside). My lines aren't as clean as yours partly because I'm new at this and partly, I think, because of messy back stitching.
ReplyDeleteThis is so awesome! I just pinned for a future project! Thank you so much!
ReplyDelete