_______________________________
Here is what you'll need:
2 different pre-washed fabrics (one of mine was a soft terry cloth)
a CD (or something else round)
Fusible web (optional - can't decide if it made my burp cloth too stiff...)
Usual sewing stuff
_______________________________
I started by cutting both of my fabrics into 10" x 21" rectangles.
I then took my CD and rounded off all 4 corners on both fabrics.
Next, I placed my fabrics ride sides together and sewed around my entire burp cloth
(leaving about a 3" gap for turning it right side out)
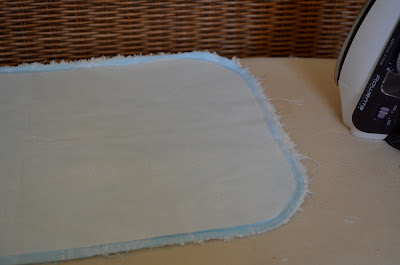
Before turning my burp cloth right side out, I ironed on some fusible web on one side of my fabric.
I figured this would hold the fabrics together nicely - but I can't decide if it made my burp cloth too stiff.
(This step is optional - I think next time I'll forego the fusible web and quilt the pretty side)
I then turned my burp cloth right side out and ironed it flat. When I got to the end that was left open for turning, I folded the unfinished ends in and ironed it shut.
To finish it off, I did two rows of topstitching (I like the look of 2 better than just 1).
Ta-da! A burp cloth...pretty easy, huh?
I plan to make more over the next few weeks so I'll add pictures as I go...
Over the next few months we'll be having 4 babies join the family (3 boys and a girl)
... these burp cloths will make fun, practical gifts!


No comments:
Post a Comment
All comments will be answered/responded to by email. Please make sure your email address is linked up to your account so I can reply. Thanks for leaving me some love :)