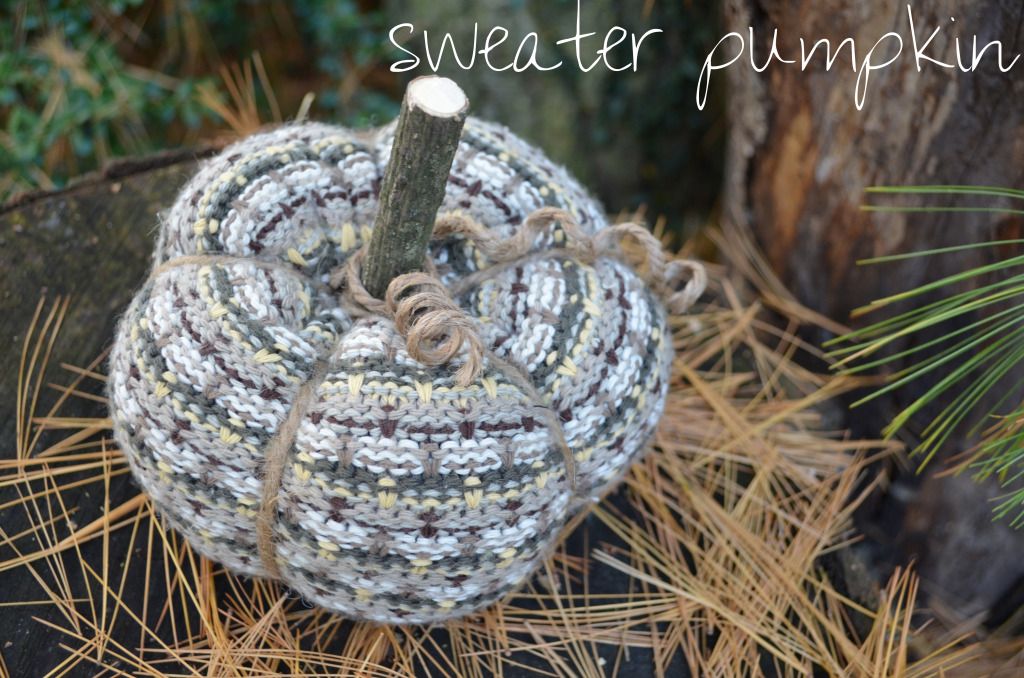
I recently attended a party that had sweater pumpkins as part of their table displays. I WAS IN LOVE. I knew that they couldn't be hard to make, so I went to our nearest Salvation Army in hopes of finding a perfect sweater. Here is what I came up with...
_________________________________________________
To make your own, you are going to need...
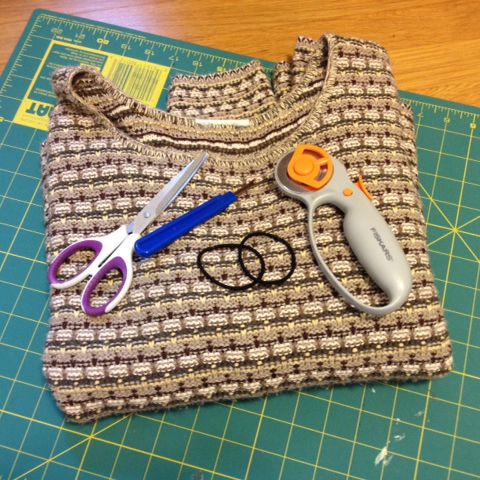 an old sweater
scissors/rotary cutter
2 rubber bands
polyfil stuffing
twine
seam ripper
hot glue/glue gun
liquid starch (optional)
_________________________________________________
First off...I felt I hit the old sweater jackpot with this one. This sweater had the perfect assortment of fall colors that I couldn't wait to get started. It took every fiber of my control to leave it in the bag until I got home (I know...I'm weird).
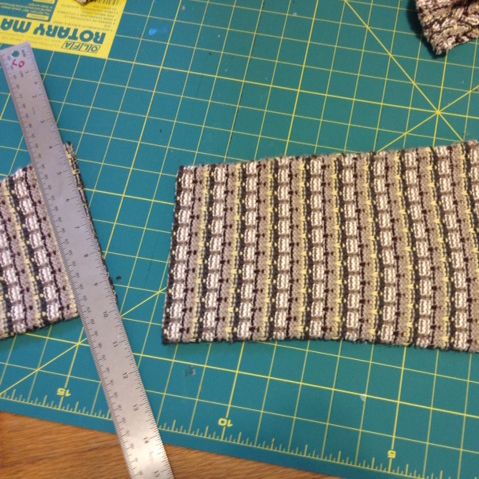
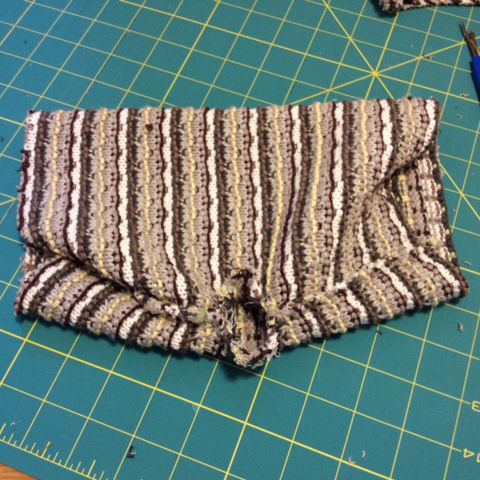
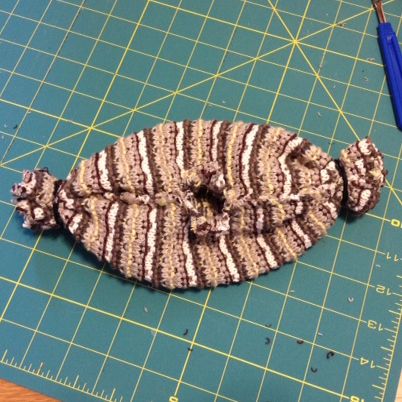
After my sweater was washed and dried, I started by "disassembling" it. I removed the sleeves by cutting off the wrists and shoulders. This left me with a good chunk of arm material to work with. Using my seam ripper, I ripped a small hole in the seam of my sweater (just big enough for turning and stuffing). Next, with wrong sides out, I tied rubber bands around the open edges of my "pumpkin." Using the hole I created in my seam, I turned my sweater right side out.
an old sweater
scissors/rotary cutter
2 rubber bands
polyfil stuffing
twine
seam ripper
hot glue/glue gun
liquid starch (optional)
_________________________________________________
First off...I felt I hit the old sweater jackpot with this one. This sweater had the perfect assortment of fall colors that I couldn't wait to get started. It took every fiber of my control to leave it in the bag until I got home (I know...I'm weird).
After my sweater was washed and dried, I started by "disassembling" it. I removed the sleeves by cutting off the wrists and shoulders. This left me with a good chunk of arm material to work with. Using my seam ripper, I ripped a small hole in the seam of my sweater (just big enough for turning and stuffing). Next, with wrong sides out, I tied rubber bands around the open edges of my "pumpkin." Using the hole I created in my seam, I turned my sweater right side out.
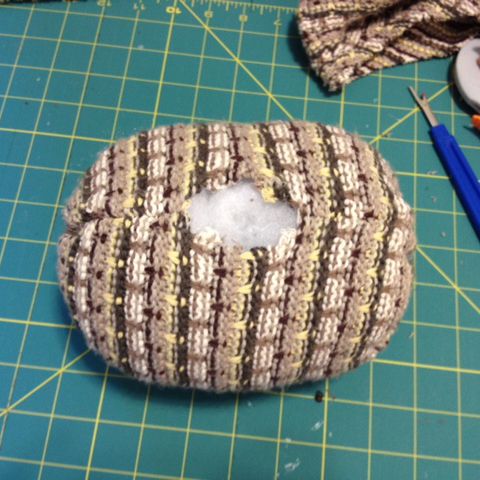
 Next, I stuffed my sweater with soft polyfil stuffing. Once my pumpkin was stuffed to my liking I hot glued (Yes, thats right...hot glued) my seam shut. Trust me, hot glue was quick and easy and you'll never see it when you're complete.
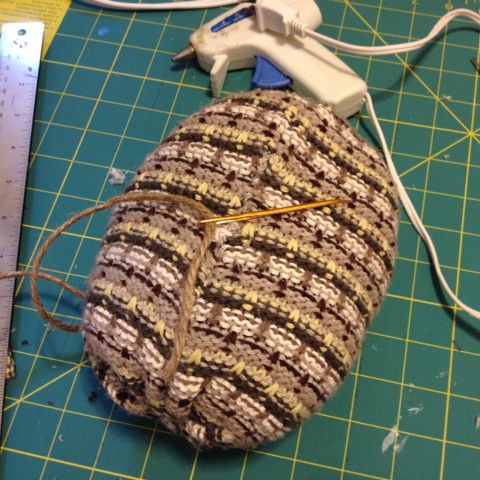
The first pumpkin I made, I cinched up the sides by threading twine through the middle of my pumpkin and pulling tight. This ended up being a lot of work. My second go round, I simply cut a long piece of twine and wrapped it around a number of times and tied it tightly. I secured the loose ends with a square knot and hot glue. It worked like a charm.
Next, I stuffed my sweater with soft polyfil stuffing. Once my pumpkin was stuffed to my liking I hot glued (Yes, thats right...hot glued) my seam shut. Trust me, hot glue was quick and easy and you'll never see it when you're complete.
The first pumpkin I made, I cinched up the sides by threading twine through the middle of my pumpkin and pulling tight. This ended up being a lot of work. My second go round, I simply cut a long piece of twine and wrapped it around a number of times and tied it tightly. I secured the loose ends with a square knot and hot glue. It worked like a charm.
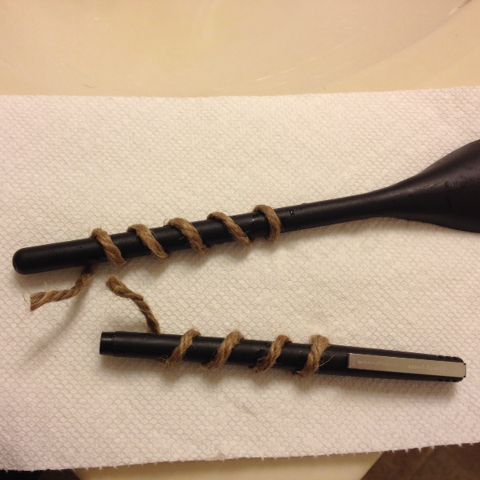
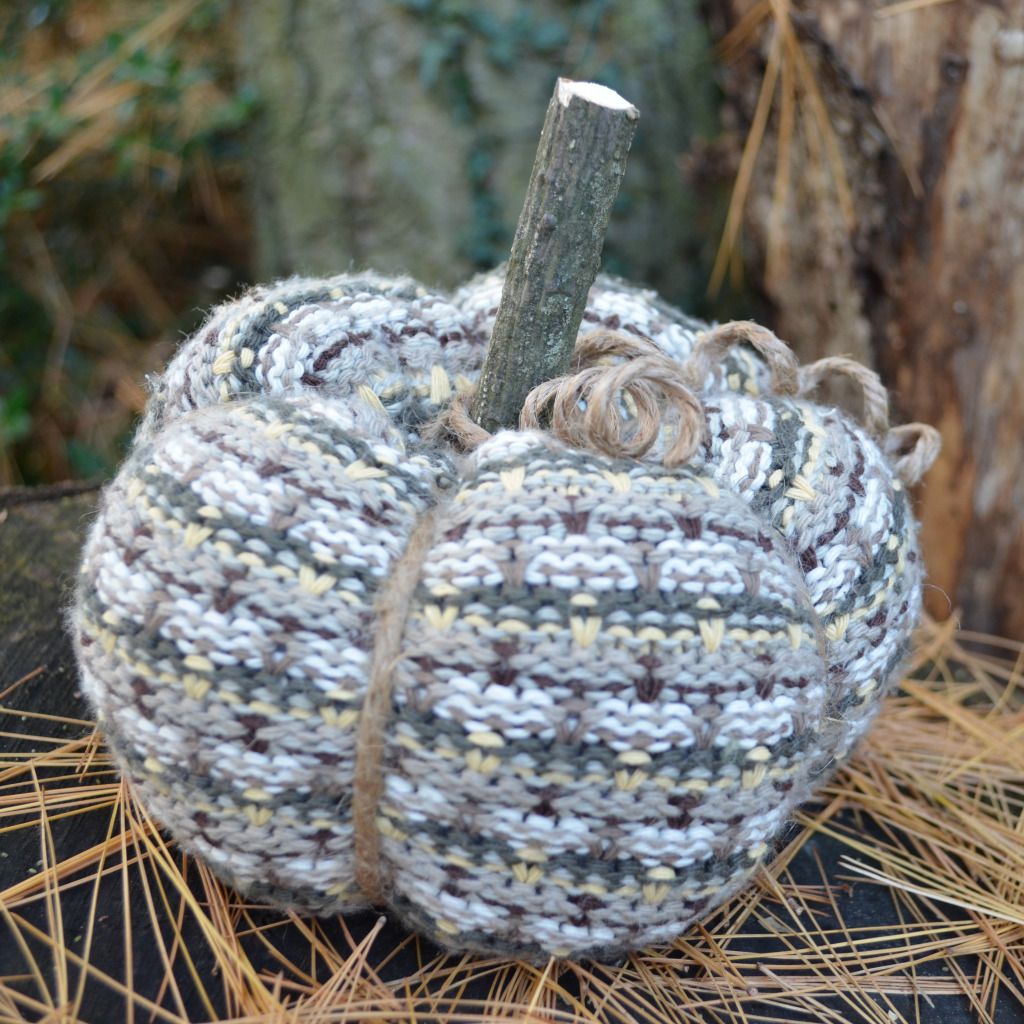
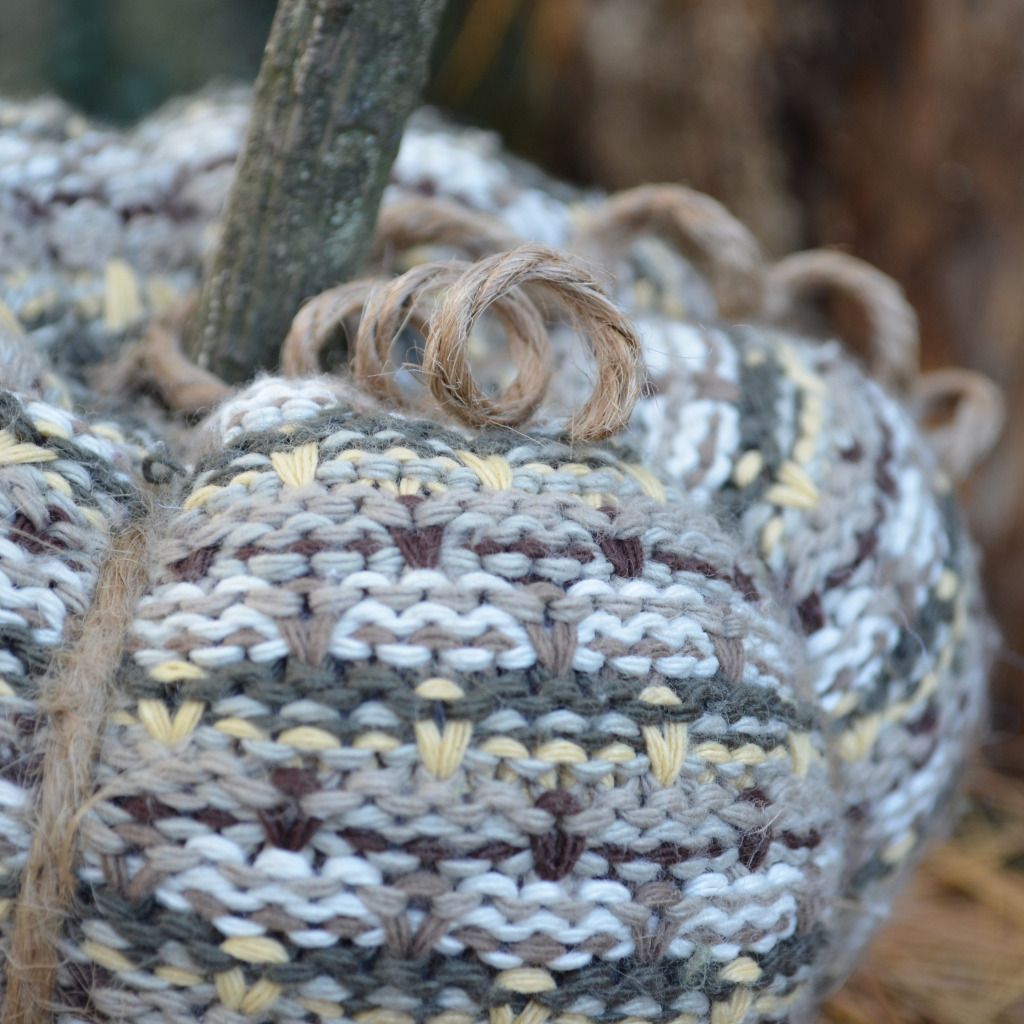
To finish everything off, I dipped some leftover twine in liquid starch and wrapper it around some kitchen utensils (and a pen) to make curlycues. I scavenged around in our backyard for some suitable twigs and hot glued my stem and twine curlies in place.
I'm so happy with the final product! It'll be the perfect decoration leading up to Halloween and will carry me through Thanksgiving (thanks to the wonderful fall colors of my sweater). I'm in sweater pumpkin love!
 [p.s. this post may be linked to any number of these blogs]


I love this idea. Great way to reuse!
ReplyDeleteLove for you to link up to my party if you get a chance:
http://www.jaqsstudio.com/2012/10/made-by-me-54-linky-party-and-features.html
Have a great day!
-Q
Thanks for the invite. I'm your newest follower and have linked up :) Have a good one!
Deleteyour sweater pumpkin turned out so cute! :)
ReplyDeleteThanks Shelley!
DeleteI LOVE your sweater pumpkin! It's so cute!
ReplyDeleteThanks for stopping by my blog, I'm now following you as well! Have a great day :-)
Thanks so much for the sweet comment!
DeleteThis is such a sweet pumpkin. I really like the sweater that you used for it. It makes look different than the traditional sweater pumpkin. Megan
ReplyDeleteThank you - I loved the sweater the second I saw it! :) I hope you have a great week!
DeleteToo cute! I've got some old sweaters that may see the light of day again. :)
ReplyDelete<3 Christina at I Gotta Create!
Wildly Original linky party is open
Yes I am now searching our closet for potential craft projects :) Thanks for stopping by! I think I missed your link party but I'll keep an eye out for the next one.
DeleteLove this, so perfect for Fall! Thanks so much for linking up to Do Something Crafty Friday :)
ReplyDeleteThanks! Have a great week :)
DeleteI love these! Thanks for the great tutorial. I pinned it for future reference :-) Jessica
ReplyDeleteAwesome! Thanks for the sweet comment. Have fun making pumpkins :)
DeleteI love it. Great idea. I had not seen it done without a plastic pumpkin inside so this is great. I don't know why I didn't think of that.
ReplyDeleteJanice
A plastic pumpkin would definitely eliminate some of the stuffing needed - but I like that these as squishy :) thanks for stopping by! Have a great week.
DeleteLove love love this sweater pumpkin!!
ReplyDeleteThanks for joining us for last week’s “Think Tank”. If you haven’t already linked up, we’d love to see you again today!
http://www.saving4six.com/2012/10/welcome-to-think-tank-thursday-3.html
Super cute! Thanks for linking up to Pin Me! I've pinned it! I look forward to see you at the party tomorrow and for you to see my new look!
ReplyDeleteI really have to do one of these! Love how you said you had to "scavenge" your yard for the stick..so funny!
ReplyDeleteI really have to make one of these. So funny how you said you "scavenged" your yard for the stick! What we have to do for crafts!!
ReplyDeleteso cute!
ReplyDeleteThats adorable! It's moments like these that I wish I wasn't such a purger!!
ReplyDelete